
How to Winterize A Small Outboard
How To Winterize A Small Outboard
Coming and it’s now time to keep your small outboard safe from the freezing temperatures. If you’re like other countless owners who leave their boats floating on all the time, winterizing is your best friend. This especially true if you take your small outboard to salt water and don’t flush it regularly during the summer season.
It’s definitely time to tidy up and winterize your engines. Start it off with a good freshwater flush. If in the above situation, a salt remover such as the Salt-X product should do the trick. Otherwise, here’s how you do it- Use some earmuffs to effectively clamp your outboard engine’s intake ports. Take a hose and connect it to a freshwater source. Install an in-line mixing unit through the hose for drawing in all the salt-removing fluids.
Here’s another way to do it- Take a big, clean trash can and put your outboard engine in. Fill the trash can with fresh water up to the point of submerging the engine below the intake level. You can add anti-salt products if you wish. Take note that you can’t really do this method for anything less than a portable engine. Tie and/or brace both the small engine and trash can. Here’s a good approximation- the best engines here are the ones around 90 pounds and 15 HP. It gets easier as your outboard engine gets smaller. For instance, a 75 pound and 8 HP engine will be easier to handle. Operate the engine in neutral while keeping the lower unit effectively within the water level. You won’t need to remove the prop, but it’s a good idea to do so if you have the time.
When you’re done with the flushing, then spray your carburetor with a direct hit from the engine fogger. This puts your engines in stop mode and protects it from corroding over the winter.
10 Steps to Winterize Your Small Outboard
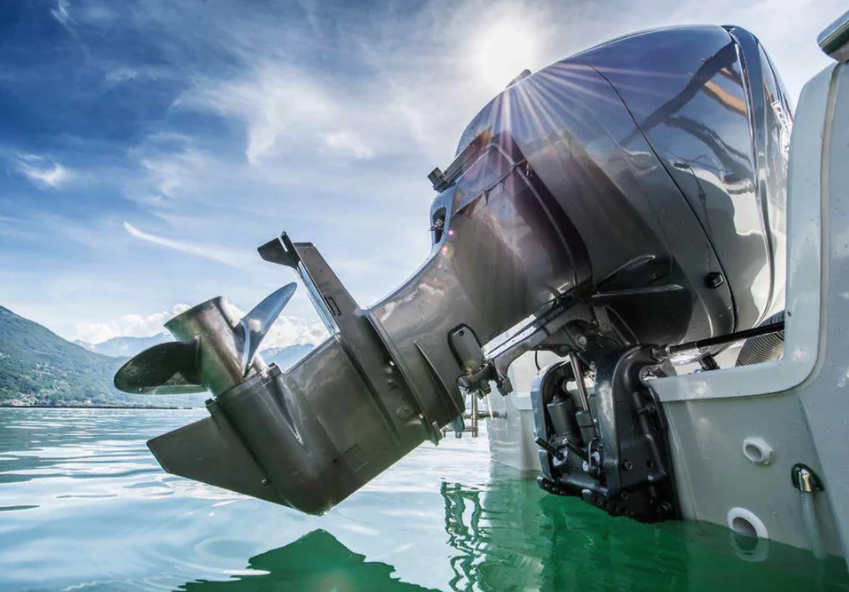
1. Remove the engine’s cowling. Start the engine and let it warm up all the way through. A steady stream of water should be flowing to the barrel. Allow it to ingest the fresh water for a good length of time. A good 30 minutes should be enough to clean it.
2. If you decided to add some anti-salt solution, then take the engine out. Empty the barrel, then refill it with fresh water. Put the engine back to the barrel and start it. Do the fresh water rinse for another 5 minutes.
3. If the engine is such that you can’t reach the fuel-filter bowl, reach for the fuel hose and disconnect it from the engine. Allow the engine to be emptied of gas. Stand alongside with your engine fogger. When the engine begins sputtering from lack of gas, hit the carburetor with a direct spray of your fogger. The fogger should stop the engine completely and prevent it from accumulating corrosion over the winter.
4. If you are able to get to the fuel-filter bowl, then hit the carburetor with a direct spray of your fogger as soon as you’re done with the flushing. Disconnect the fuel hose after.
5. Remove the fuel-filter bowl, then check the filter inside. Empty out the fuel contained within the bowl and transfer it to the gas tank or any similar container. Clean out the filter element and then put the bowl back to the small outboard engine. These should stay nice and dry during the cold season.
6. Empty your engine of any remaining water. Scrub out the engine’s lower unit and rinse it. Allow it to air dry or wipe it dry with an appropriate cloth. Clamp it tight onto a workbench or an engine dolly to start the final process of the winterization. You may unscrew the fuel-filter bowl at the top of the engine. Double check and make sure the element filter is clean, and that the gas tank is completely empty. Screw the assembly back to the engine.
7. Take out the spark plugs and spray them with the fogger until the solution begins pouring out. Wipe the spark plugs with a clean cloth, then reinstall them in place.
8. Eliminate all the leftover grease from the bracket. Apply a fresh coat to the bracket, as well as the cowling latch, throttle assembly and to the swivel joint. Apply to all the parts of the outboard that need greasing.
9. Do your zinc need replacing? Check and apply as necessary.
10. Leave the outboard engine in an upright manner throughout the winter. You can secure it this way by clamping it on to a bench or an engine dolly. If not, then you can do the next best thing- leave it in a leaning position at a dry corner. Make sure the engine is not in a prone, lying down position.
Now is also the best time to replace the oil in the lower unit. Don’t leave the dirty, used oil to fester in during the winter. If it’s water-tainted, then all the more damage will be done. Check out the various oil change videos on the web for the lower unit of your small outboard.
Last, but definitely not the least, take care of your portable fuel tank. Winterize it for the upcoming cold season. A tank with some fuel in it will certainly give you a lot of headaches when you find it come spring time. Here, you can do 2 things. First thing is to empty your tank of fuel, then using that fuel for something else. You can add in some cycle oil for it to become chainsaw fuel or something similar. If you don’t have anything to use the fuel for, then you can try the second thing. Top the fuel tank with fresh fuel, then put in some additives. A good mix of anti-ethanol stabilizer and some storage additive should do the trick. Don’t forget the fuel left over from the fuel hose. Disconnect the hose from the tank completely and drain it off all the leftover fuel. If you’ve got no use for it, then you may add it to the stabilized fuel to keep it in optimal condition during the winter freeze.
If you have any questions about this procedure or if you decide you need a little help on Winterizing you boat contact Blended Compass Marine Services and schedule a winterization.
https://www.rnrmarineservice.com/best-way-to-winterize-a-boat/